When One Worn Headset Disrupts the Whole Round
The final round narrows to a doorway. A footstep lands somewhere beyond it, muffled enough to leave the direction uncertain. Then a teammate interrupts: the microphone is crackling again. Moving the earcup volume wheel makes the static worse.
That scene exposes the practical weakness of an all-in-one gaming headset: listening, voice capture, controls, and cabling share a small assembly. One worn contact can disrupt several jobs.
A thin analog headset cable carries left and right playback, microphone signal, and a shared ground. Resistance or a poor connection in that shared return path can let playback interfere with voice capture. Inside the earcup, driver mechanics compete for space with microphone wiring, controls, and, on equipped models, wireless electronics or RGB components.
The volume-wheel fault offers a concrete example. A microphone return sharing an unshielded circuit-board path with the driver return creates an opportunity for interference around the rotary control. Buying a separate DAC leaves that worn control and microphone wiring in the signal path.
Separate the failing function first. A standalone microphone can replace a crackling boom while the headphones remain useful. Headphones with replaceable cables make the next repair smaller still. Modular peripherals let the owner replace the component that failed instead of retiring the entire audio setup.
A well-built headset remains convenient. The reason to move away from one is a specific listening, recording, or repair problem.
Choose Open or Closed Earcups Around the Room
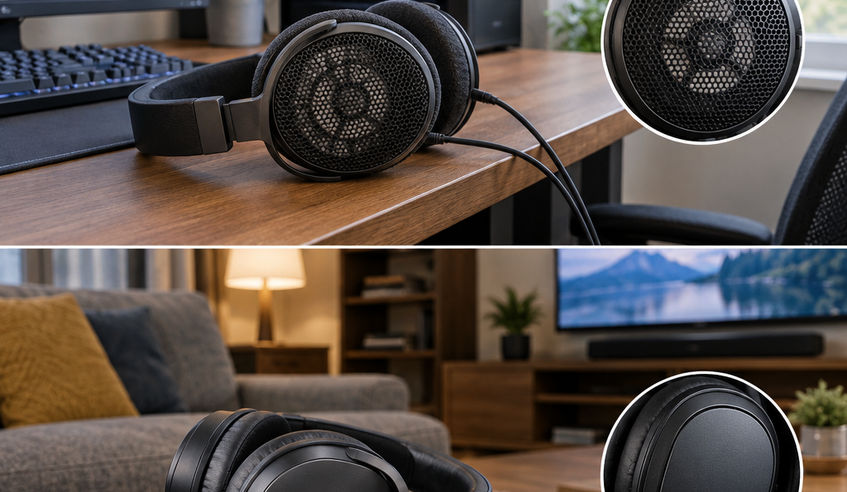
Start with the room around the gaming PC. A quiet desk gives open-back headphones room to work; a shared living space usually favors closed-back isolation.
Open-back earcups use perforated grilles that let the driver's rear radiation escape. Closed-back shells contain that radiation, with the enclosure and damping shaping the resulting resonances. Pads matter too: their seal changes both isolation and acoustic behavior.
Separate Soundstage From Directional Accuracy
Soundstage describes the apparent space around a sound. Imaging describes how precisely a headphone places it within that space. A broad presentation can help distant footsteps feel external and naturally spaced, while accurate imaging helps distinguish the doorway from the staircase beside it.
Open-back designs can support that spacious presentation by reducing enclosed rear-wave reflections. Vertical placement also involves the game's audio rendering and the listener's interaction with its spatial cues. Judge the combination in a familiar map, with extra surround effects disabled.
Protect Quiet Cues From Desk Noise
Open grilles also let keyboard clatter and cooling noise reach the listener, while game audio escapes into the room. In a noisy shared space, closed-back headphones preserve quiet cues by reducing competing sound.
For the player holding that doorway, isolation may contribute more than a wider soundstage. Choose the enclosure before shopping for conversion hardware: a DAC cannot silence a mechanical keyboard beside an open earcup.
Buy a DAC or Amplifier for an Audible Problem
The motherboard already contains a digital-to-analog converter, or DAC. It turns the game's digital audio into an analog signal. The headphone amplifier supplies the voltage and current needed to drive the headphones. An external DAC/amp moves those functions into a separate enclosure.
That separation becomes useful when the existing output adds audible interference or runs out of clean listening headroom.
Read Impedance Alongside Sensitivity
Impedance, expressed in ohms, describes the electrical load. Sensitivity, expressed here in dB/mW, describes the sound level produced for a given power input. Read them together.
Compare a hypothetical purchase between headphones rated at 250 ohms and 99 dB/mW and a planar magnetic model rated at 32 ohms and 91 dB/mW. The higher-impedance pair needs more voltage for a given power level. The less-sensitive planar needs more power to reach the same loudness, and its lower impedance increases the current requirement.
Shopping by impedance alone can therefore steer a buyer toward the wrong amplifier.
Test the Rear Output Before Adding Hardware
- Move the headphone plug from the case's front socket to the rear motherboard audio output.
- Listen to quiet passages, then run a familiar game under normal GPU load. Check for hiss or whine that changes with rendering activity.
- Check whether comfortable playback leaves usable volume adjustment below 85% Windows output.
Persistent GPU-load whine at the rear output, or inadequate comfortable volume within that range, justifies investigating an external DAC/amp. A physical volume knob adds convenience; by itself, it establishes no sound-quality benefit. Select any gain setting to suit the headphones rather than automatically choosing the highest setting.
Put the Microphone Near the Voice, Above the Desk
For the player whose teammates hear keyboard clatter, microphone placement deserves attention before capsule shopping.
Condenser microphones generally produce a stronger electrical output and readily capture room detail. Dynamic microphones generally need more clean preamp gain. A close-positioned dynamic can suit an untreated gaming room, but its capsule type alone does not remove echo or keyboard noise. Distance and pickup pattern shape the voice-to-room balance.
Choose the Connection Around the Desk
A USB microphone combines the capsule, preamp, and conversion hardware in one device. It keeps setup straightforward and avoids a separate interface.
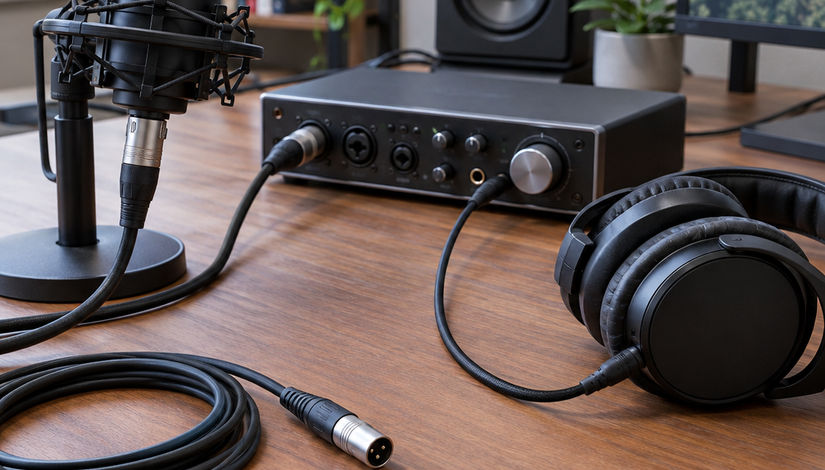
An XLR microphone connects to an audio interface, which provides the microphone preamp and conversion. Choose sufficient clean gain for the microphone. An interface with direct headphone monitoring also lets the speaker hear the microphone without routing that monitoring signal through software.
Aim the Rejection Toward the Keyboard
- Mount the microphone on a low-profile boom arm so the capsule sits three to five inches from the mouth, around chin level.
- Keep it clear of the vibrating desktop; use a suitable shock mount to reduce mechanically transmitted bumps.
- For a cardioid microphone, aim its rear rejection zone toward the keyboard while keeping its active face toward the speaker.
- Record ordinary speech while typing, then adjust placement before increasing gain.
Check whether the microphone accepts sound through its end or side. Speaking into the wrong surface wastes the advantage of close placement.
Build the Audio Chain Around What Needs Replacing
Allocate the budget to the problem heard during testing. Headphones, microphone placement, and connection reliability can deserve attention before a new converter.
Entry Level: Rear Audio and a USB Microphone
Connect efficient headphones directly to the motherboard's rear green output and use a compact USB microphone for voice. Check the motherboard manual to confirm the socket's role. This arrangement separates playback from recording with little extra desk hardware.
Midrange: Add Only the Missing Piece
If rear-output testing reveals electrical whine or insufficient volume, add a compact USB DAC/amp with suitable headphone drive. If playback already sounds clean and reaches comfortable levels, direct the budget toward headphones or a better-positioned microphone.
An attachable boom cable offers another compact route where the headphones support its connector and microphone wiring. Check compatibility before ordering: a detachable headphone cable alone does not establish support for a microphone cable.
Desktop XLR: Centralize Voice and Monitoring
Connect the XLR microphone to an interface, then connect headphones to its headphone output. Check that output against the headphones' electrical requirements. A boom arm keeps the microphone close while the interface puts recording gain and monitoring controls within reach.
Match the Plugs and Remove Duplicate Processing
Separate headphone and microphone sockets typically use TRS connections; a combined headset socket uses TRRS. Match any headset splitter to the socket arrangement and wiring standard. A headphone-sharing splitter serves a different purpose.
Use rear motherboard audio for the initial check. Front-panel wiring crosses the chassis and can pick up interference. In Windows, select the intended playback and recording devices, disable audio enhancements, and turn off overlapping spatial processing in Windows and third-party software.
Before buying a DAC or amp, plug the current headphones directly into the rear motherboard green line-out jack, disable Windows audio enhancements and spatial effects, and play a familiar game track at normal volume to check for electrical hiss or insufficient loudness.