Native gamepad support on PC still leaves aim feeling soft. Steam Input fixes that gap by turning sticks and gyros into something closer to a mouse—if you configure it with intent.
What's Inside
- The Evolution of PC Controller Support
- Analyzing the Core Components of Steam Input
- Configuring Gyro Aiming for Mouse-Like Precision
- Adjusting Dead Zones and Response Curves
- Navigating and Modifying Community Layouts
- Step-by-Step: Building a Competitive Shooter Profile
The Evolution of PC Controller Support
For years, PC controller support meant duct tape. JoyToKey, Xpadder, and a dozen other third-party mappers each kept their own per-game profiles. You remapped buttons in one tool, dead zones in another, and prayed the next patch did not break the bind list.
Valve changed the model between late 2015 and early 2016. Instead of maintaining separate driver profiles for every title, the platform built a universal API layer that intercepts hardware signals before they reach the game engine. Legacy DirectInput and XInput calls get mapped into a virtualized translation layer. One configuration surface. One overlay. Every Steam game in the library inherits the same toolkit.
The Steam Controller accelerated that shift. Its dual trackpads and onboard gyro forced Valve to treat gamepads as precision pointing devices, not console leftovers. Once those primitives lived in the client, DualShock, DualSense, Xbox, and Switch Pro pads could ride the same pipeline.
The baseline problem never fully left. Plenty of PC shooters still ship “supported” gamepad presets that feel like aiming through syrup. Hardcoded dead zones, low stick-to-camera ratios, and missing gyro options keep competitive players on mouse and keyboard. Steam Input exists to reclaim that precision without abandoning the pad in your hands.
Analyzing the Core Components of Steam Input
Steam Input configurations stack in a clear hierarchy. Start with an Action Set—the base map for standard gameplay. Movement, look, fire, reload, jump. Everything you need when nothing special is happening.
Action Layers sit on top of that base. Hold ADS, open a radial, enter a vehicle: the layer swaps or augments a handful of bindings without cloning the entire scheme. Virtual Menus handle the rest—weapon wheels, emote rings, ability selectors, so you stop burning face buttons on rarely used commands.
The real power move is stick-to-mouse translation. Steam can take 16-bit analog stick values and emit raw mouse delta coordinates. That path bypasses the restrictive dead zones many engines bake into their native gamepad camera code. You feel the difference immediately in titles that otherwise ignore the first third of stick travel.
Anti-Cheat Watch
Steam Input stays powerful across most of the library, yet competitive titles that run kernel-level anti-cheat frequently block virtualized mouse inputs injected through the client overlay. Those specific bindings go dark. Keep a fallback Action Set that uses native gamepad camera output for ranked queues in those games.
Where the official Steam Input documentation outlines the developer-facing API, the player-facing overlay exposes the same building blocks without requiring a code editor. Expect a small translation overhead, roughly 10–15 milliseconds, when the client rewrites stick packets into mouse deltas—noticeable only if you are hunting frame-time ghosts on a high-refresh display.
Configuring Gyro Aiming for Mouse-Like Precision
Open the Steam overlay, enter Controller Configuration, and bind the gyroscope to mouse output. That single mapping is what turns a gamepad into a tracking tool instead of a blunt camera stick.
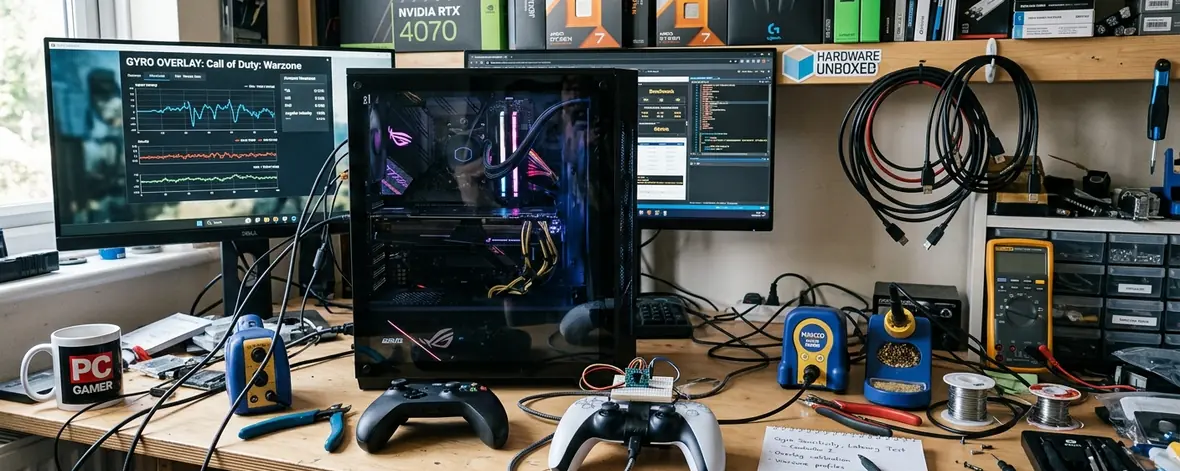
Leave the gyro hot all the time and the crosshair drifts while you walk, climb stairs, or lean back on the couch. Bind activation to the left trigger instead. Pull to aim down sights, gyro wakes up, camera tracks your physical tilt. Release the trigger and the sensor sleeps. Camera stays put during general traversal and menu navigation.
After you release the activation button, give the internal gyroscope 200–300 milliseconds to stabilize before you trust the next flick. Rushing that window produces a tiny unwanted nudge.
Baseline gyro scale
Set gyro-to-mouse output scale to somewhere around 4 to 6 pixels per degree of physical rotation. Start at 5.0. If small wrist corrections overshoot heads at mid-range, drop toward the low end. If tracking a strafing target feels like stirring molasses, climb toward the high end. Keep stick look on a separate, lower sensitivity so the two inputs complement each other rather than fight.
Gyro Activation Rule
Left trigger for ADS-gated gyro. Right stick for coarse framing. Gyro for the final inches onto the target. That split keeps movement clean and aim sharp.
Adjusting Dead Zones and Response Curves
Before you touch curves, open the calibration screen and find your controller’s true hardware center. Worn pots drift. Fresh pads sometimes ship slightly off true zero. Budget 5–10 minutes of iterative testing in a private match—stand still, watch the crosshair, nudge the inner dead zone until idle drift disappears.
A practical starting buffer sits between roughly 0.08 and 0.12 on the inner dead zone. Go lower only after the stick proves stable. Go higher if a tired pad keeps crawling.
Anti-dead zones solve the opposite problem. When a game engine hardcodes a fat ignored radius—sometimes around a 0.20 axial dead zone, your early stick travel does nothing. Steam can apply an anti-dead zone at the software level, forcing the output signal to jump past that ignored radius the moment you leave center. Titles that already allow raw input passthrough need little or none of this treatment. Match the tool to the engine.
Picking a response curve
Input Response Curves and Genre Suitability| Response Curve Type | Input Translation Behavior | Recommended Game Genre |
|---|---|---|
| Linear | 1:1 translation of physical stick movement to digital output | Competitive First-Person Shooters |
| Aggressive | Amplifies output as stick deflection increases past the midpoint | Arena shooters and fast hero titles |
| Relaxed | Softens initial response, then ramps toward full deflection | Third-person action and cinematic adventures |
Linear keeps competitive FPS aim predictable—what you push is what you get. Aggressive helps when you need sudden 180s without losing fine control near center. Relaxed forgives thumbs during exploration-heavy sessions.
One trap worth naming: applying a linear response curve to a worn analog stick can produce uncontrollable camera drift that overrides your gyro inputs. Calibrate first. Curve second.
Stick Center Check
If the crosshair creeps while your thumb is off the stick, raise the inner dead zone before you touch sensitivity or gyro scale. Drift masquerades as a sensitivity problem and wastes an evening of tuning.
Navigating and Modifying Community Layouts
You do not have to build every profile from a blank template. Inside the Steam overlay, open the configuration browser and switch to community layouts for the current game.
Sort with intent. Prioritize configurations whose creators show more than 100 hours of playtime on that layout. High hours usually mean the author survived the awkward first week of binds and kept refining. Favor layouts that use advanced nested menus and Action Layers over flat button lists—complexity here signals someone who understood the hierarchy rather than dumping every action onto the face buttons.
After a major game update, fresh community layouts can take a day or two to climb into the top-rated feed. Check again the next evening before you assume nobody has posted a fixed profile.
Personalizing a download
- Download the template and apply it as a personal copy—never edit the shared original in place.
- Walk every Action Set and Layer once in a private match.
- Retune stick sensitivity, gyro scale, and dead zones to your pad’s hardware center.
- Move any binding that fights your grip. Claw players often relocate melee or push-to-talk; palm-grip players may want the opposite.
- Save under a clear name that includes the game, your pad model, and the date.
Community layouts accelerate the boring half of setup. Your hands still own the final millimeter of aim feel.
Step-by-Step: Building a Competitive Shooter Profile
Here is a full profile you can copy into a fast-paced PC shooter tonight. DualSense or Xbox pad, Steam Input enabled for the title, overlay available in-game.
Step 1 — Right stick to Joystick Mouse. In the base Action Set, set the right stick style to Joystick Mouse. Choose a low-friction custom curve so small deflections still register. Keep horizontal and vertical ratios matched unless the game’s aspect ratio clearly demands otherwise. This is your coarse framing tool, swing onto the target’s body, not their pixel forehead.
Step 2 — Gyro to Mouse on left trigger. Enable Gyro to Mouse. Set the activation button to Left Trigger (ADS only). Scale output to 5.0 pixels per degree, then live-fire adjust inside that 4-to-6 range. You should be able to track a strafing bot with wrist motion alone once ADS is held.
Step 3 — Dead zones and anti-dead zone. Calibrate hardware center. Park the inner dead zone between roughly 0.08 and 0.12. If the game’s native camera still feels like it ignores early stick travel, add a light anti-dead zone until the crosshair moves the instant your thumb leaves center. Skip anti-dead zone entirely when the engine already passes raw values.
Step 4 — Linear curve on stick look. Lock the Joystick Mouse response curve to Linear for competitive work. You want predictable output under pressure, not a cinematic ramp.
Step 5 — Sniper Action Layer. Create an Action Layer that fires while the right bumper is held. Inside that layer only, apply a 0.42x sensitivity multiplier to the Joystick Mouse output. Base traversal speed stays untouched. Scoped fights slow down just enough for micro-corrections. Confirm the handoff with a few seconds of rapid target acquisition drills, acquire, bumper down, head track, bumper up, swing to the next bot. The transition should feel seamless, not like someone swapped your mouse DPI mid-flick.
Step 6 — Save and duplicate. Name the profile with game, pad, and date. Duplicate it before you experiment further so you always have a known-good rollback.
Worked case, start to finish: you load into a private bot match on your usual mid-range map. Right stick frames a bot at 20 meters. Left trigger pulls ADS; gyro wakes; a short wrist tilt parks the crosshair on the head. You tap fire, release trigger, and the camera holds steady while you reposition. A long-angle peek appears—right bumper engages the sniper layer, stick look drops to 0.42x, gyro stays active on trigger, and a slow sweep lands the shot without overshoot. Bumper releases, full stick speed returns, and you rotate to the next contact. That loop is the profile. Copy the six steps above, run the same drill, and tune only the gyro scale and inner dead zone until the crosshair behaves like an extension of your wrist.